A Guide to Making Your Own Cool Leather Jewellery
Leather jewellery can cost a fair bit of money, but by simply putting in a little effort and taking the time to spend a little on supplies you can create your own unique designs for a fraction of the price! The process is fairly simple, and you could be left with something sophisticated and pretty that your friends will be envious of.
Here we have plenty of techniques for you to try to create your own beautiful leather jewellery:

The Beaded Leather Bracelet
-
Get all of your materials together for the beaded leather bracelet; you can buy these online or from a craft shop. You’ll need leather, beads, and anything else you want to include.
-
Measure and cut your leather to fit your wrist. Add a couple of inches on to the end for when you tie the bracelet.
-
Tie the leather at the top leaving some leather to tie to your wrist, and then sellotape the leather to a table for beading.
-
Place your chosen bead on to one piece of string, and then slide the other piece of leather through the opposite side to create a loop around it. Continue to do this with your chosen beads until the bracelet is long enough to wrap around your wrist.
-
Tie your bracelet around your wrist, and you’re done! You can find similar bracelets to this at 10 sterling, so you know the look you’re achieving is very professional.
The Braided Leather Bracelet
-
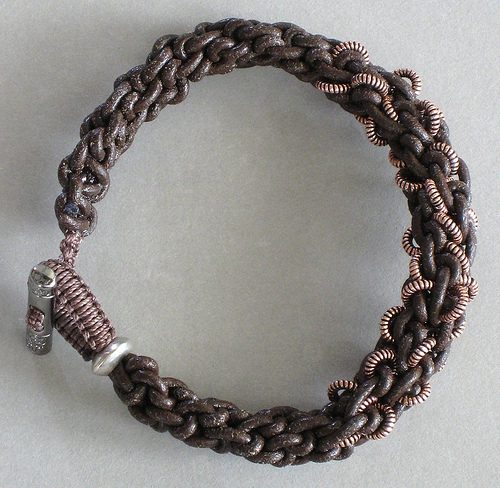
Select your leather and strip thickness depending on the look you’re going for. Measure and cut the leather depending on your wrist size.
-
Secure the leather at the top and then sellotape to a table ready for braiding.
-
Braid your bracelet as if you were braiding hair – there are many tutorials online if you don’t already know how to do so.
-
Finish your braid by tying it around your wrist and cutting off the excess!
The Leather Cuff
-
You’ll need strips of tooled leather to create a leather cuff, leather glue, a leather needle, waxed linen thread, and button snap clasp.
-
Make sure your leather is around 2 inches wide, and cut it to fit your wrist adding an extra inch.
-
Attach your cut leather to a larger piece of leather using leather glue and leave overnight to dry after smoothing down any wrinkles.
-
Trim the leather down so it’s the same size as the original strip.
-
Grab your leather needle and waxed linen to stitch your leather together.
-
Use your leather glue to secure your clasp to each end of the bracelet.
-
You can now wear your cuff!
The Friendship Leather Bracelet
-
You’ll need leather strips, embroidery thread, fabric glue, and a needle.
-
Measure and cut your leather, leaving a few inches at the end just incase.
-
Secure the leather to a table using tape.
-
Dab some glue to your leather and then wrap your embroidery thread around it. You can make the colour as thick as you like before moving on to the next one.
-
Add more colours by using more glue and wrapping the colours around that you’d like.
-
When you’re finished, thread the thread through your leather knot using a needle, and tie the bracelet at the ends. You’re finished!
See? There’s so much you can do with leather, at a fraction of the cost of the shops. Try one of our techniques to make something cool and unique that nobody else has!

