How to make Pocket Pages for Scrapbook
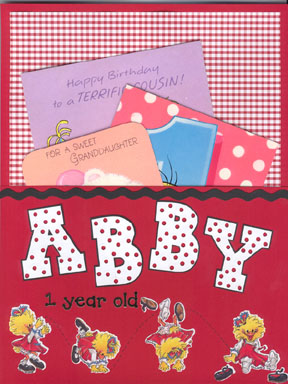
Pocket pages are a wonderful way to store loose memorabilia in your scrapbooks. I use them for birthday cards, wedding announcements, valentines, and programs from plays and recitals. They also work great for the maps and brochures you pick up on vacations. By modifying the basic steps below, you can also create mini-pockets to go on a regular scrapbook page to store items like passports and high school activity cards. The uses for pocket pages are endless.
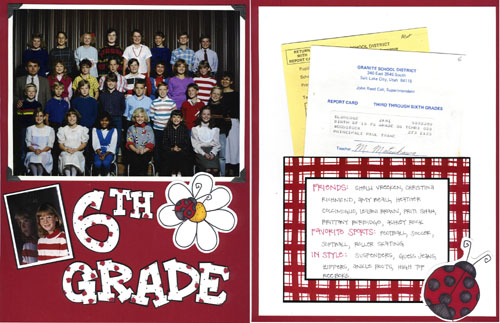
The basic steps to constructing these pages are simple.
- Cut a piece of 8.5 x 11 cardstock in half so its new dimensions are 8.5 x 5.5.
- Apply adhesive around the two short sides and one of the long sides of the cardstock. The adhesive should not extend more than 1/2 in from the edges.
- Carefully place the half sheet of cardstock, adhesive side down, on a full 8.5 x 11 sheet of cardstock for the backing, matching up the edges of the pocket and the backing. Allow the glue to dry before putting anything in the pocket.
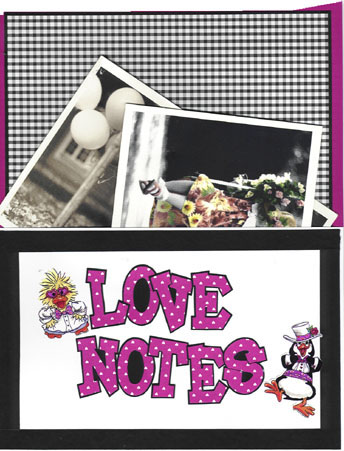
Paper
Patterned paper is usually not sturdy enough for pocket pages. If you plan to use lightweight patterned paper, mount it on cardstock first. Trim 1/2 off the edge of the printed paper if you want a border- Since the bottom half of the page is covered by the pocket, the patterned paper on the top half of the backing only needs to extend 1/4 below the pocket opening. The leftover paper can be used for lettering or matting pictures on the same or coordinating pages.
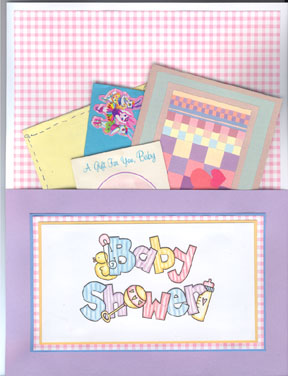
Adhesive
The adhesive you use for pocket pages should be heavy duty. I have not had good luck with photo splits on pocket pages. My favorite adhesive to use for this is 3L double stick photo tape, but a normal archive safe glue like memory mount works great also. No matter what type of adhesive you use, if you overfill the pocket the adhesive will separate or the paper will tear, so be careful.
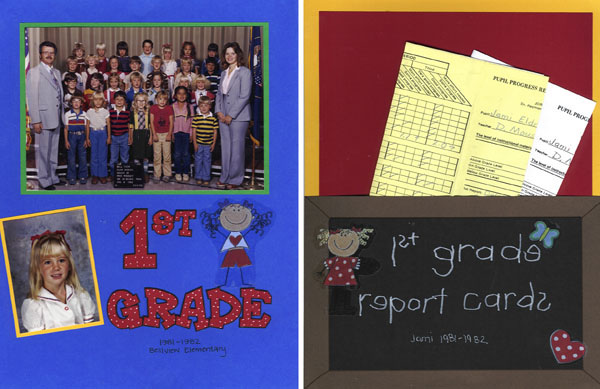
Embellishments
I dont usually use a lot of stickers and patterned paper on my scrapbook pages, but a pocket page lends itself to the use of these products, as well as other embellishments like paper dolls and paper piecing. When you dont have photos on a page, you need something to catch the eye. Since I am physically unable to stop buying stickers and patterned paper even though I rarely use them, I love doing pocket pages just so I can use all the stickers and patterned paper I buy. Keep in mind the type of memorabilia you will be placing in the pocket. If the memorabilia is busy you will want to keep the pocket design simple.
Page Protectors
Sometimes page protectors are great because it keeps the memorabilia inside the pocket page safe from sticky fingers. However, if you want to be able to access the contents easier, you can create a pocket out of the page protector as well. Place your pocket page inside the sheet protector and mark the top of the pocket. Remove the page, and place a cutting mat or thick piece of paper inside the page protector. Carefully cut a straight line across the page protector using an xacto knife, making sure to only cut through one side of the sheet protector. Place your pocket page inside the sheet protector again, and put the memorabilia inside the pocket, but leaving it outside the top half of the sheet protector.
| About the Author
Jami Blackham: This article and the images contained herein are copyright 1999 by Jami Blackham and Scrappers Haven. Visit Jami at http://www.scrappershaven.com |
