How to Recycle an Old Sweater into (at least) 5 New Garments!
Guest post by Julie Anne Eason of SeriousSewing.com
One $5 thrift store find gets a makeover from stretched out sweater to a cowl (neckwarmer), a pair of arm or leg warmers, 2 warm headbands, a pair of wrist warmers and a wrap-around skirt.

Sometimes things just wear out their welcome. This is especially true of sweaters. They get stretched out of shape; they go out of style; they get stained and can’t be worn again. Well, here’s how to breathe new life into that old thing taking up space in your closet.
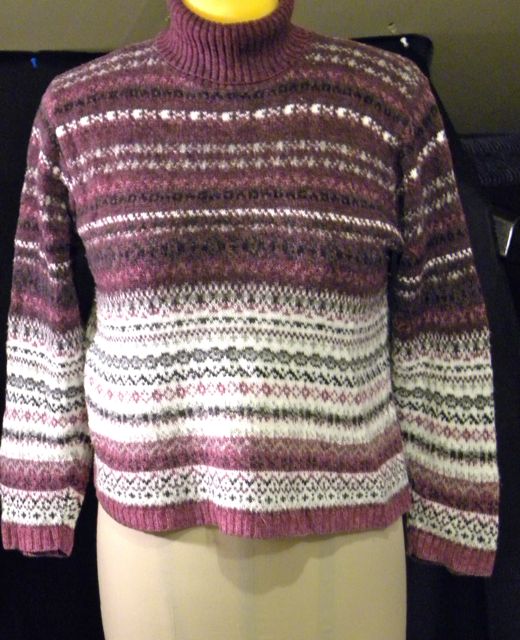
Step 1: Deconstruct the Garment
Depending on the style of the sweater, you’ve got lots of options for recycling. The arms are the easiest. They can become arm or leg warmers depending on your personal style. You’ll cut off the shoulder cap of the sleeves, which make lovely headbands. If you have a cowl or turtle neck sweater like this one, you’ve got a neckwarmer. The body of the sweater could become a vest, or in this case, a simple wrap skirt to wear with leggings or tights. When I cut the skirt, there was quite a bit left over around the shoulder and chest area. So, the shoulder pieces made a pair of flouncy wrist-warmer cuffs.
The first thing you want to do is turn the sweater inside out and cut along the seam lines to separate the pieces. Try to leave the ribbing intact, if you can. And be sure not to pull on any of the pieces. Knitting unravels quickly, so you need to be gentle until you get the edges secure.
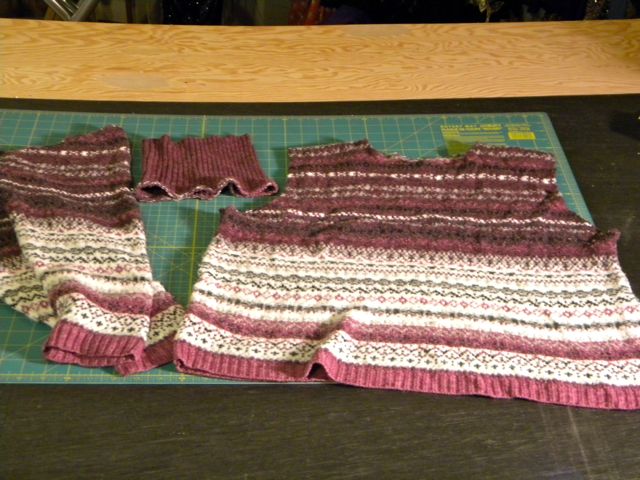
Step 2: Secure the edges
There are several ways to tackle this depending on how confident you are handling “live knitting” and what you plan to do to secure your edges. Knitters call any stitches that are free to unravel “live stitches,” so all the edges you just cut are live edges. The easiest thing to do is just run the live edges through your sewing machine or serger to anchor the stitches down until you decide how you want to proceed.
However, if you’re a knitter, you may want to just pick up the live stitches on a needle and knit a ribbing or bind off the edge in a pretty picot stitch. You can also do the same thing with crochet. I like to serge the edges even when I’m planning to knit on a new ribbing because these sweaters have such tiny stitches, it’s easy to miss one. And you don’t want a run in your new garment.
Step 3: Assemble the New Garments
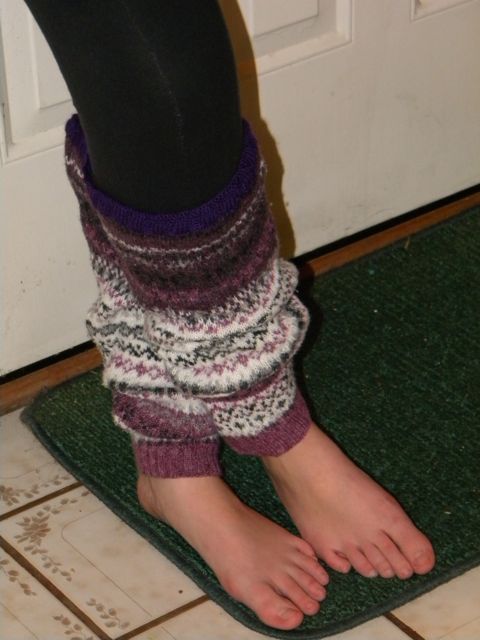
First, let’s start with the sleeves. These can be arm warmers or leg warmers. I’m making leg warmers in this case.
Leg Warmers
I cut off the sleeve cap section, so I have a tube that’s straight on both ends. Since there’s already a knit ribbing on the narrow end, I decided to pick up the stitches and knit a 3/3 ribbing on the top. My daughter likes her leg warmers slouchy, so I left the sleeve shape as-is. However, if you want to, you can narrow the top to get more of an even cylinder by cutting to the shape you want and running the live edge through your serger.
Neck Warmer
This is already in the right shape, so all you have to do is secure the live edge. Either run it through a serger; pick up and knit the live stitches; or you could line it with a piece of polar fleece for an extra warm piece of outerwear.
See how the neck warmer looks with the cuff picture below.
Headbands
Bonus tip: I bet you already figured out if you fold the turtle neck in half, you’ve got a spiffy ear band.
The sleeve caps are just the right size to make two headbands.
These are the pieces you cut off the tops of your legwarmers. You can leave the football shape, or fold the edges under and secure with a whipstitch to make a rectangular shape. Then all you have to do is attach a piece of elastic to each end.

Wrap Skirt
Next, we have the Torso of the Sweater
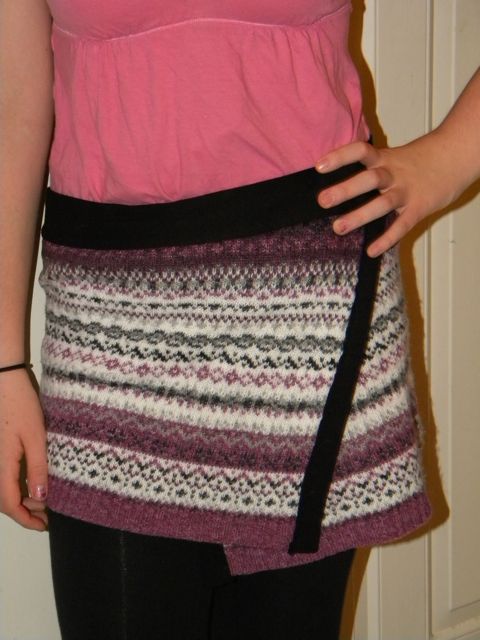
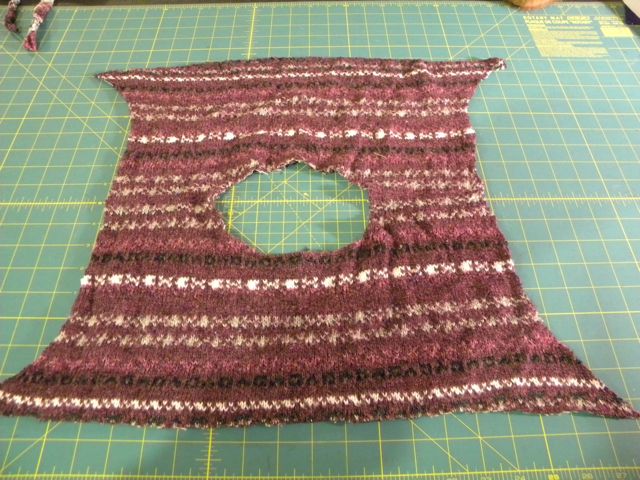
This could be finished off as-is and made into a cute vest or cut up the middle for a cardigan. But I wanted to make a skirt. So, first I cut the top section off at the widest part of the underarm area to make it even all the way across. (Save the shoulder and upper chest area…we’ll use them in a minute.) Then I cut one of the side seams open to create one long rectangle. You might need to cut that rectangle down some, depending on how wide your hips are and how long the rectangle is. It’s up to you how much length and width you need.
If you’re making a closed tube skirt, just serge up the side opening. Then take some 4-way stretch fabric like a heavy lycra or even sweatshirt ribbing and serge around the top live edge. And you’re done.
I wanted to make a wrap skirt. So, I added some lycra edging down both short live edges, and a wider piece across the top to make a waistband. Then I attached a hook and eye to hold the waist together. Voila! A wrap skirt. You can also add a kilt pin or pretty brooch to hold the wrapped part closed, if you like.
Cuffs
Finally, I have the Chest Sections
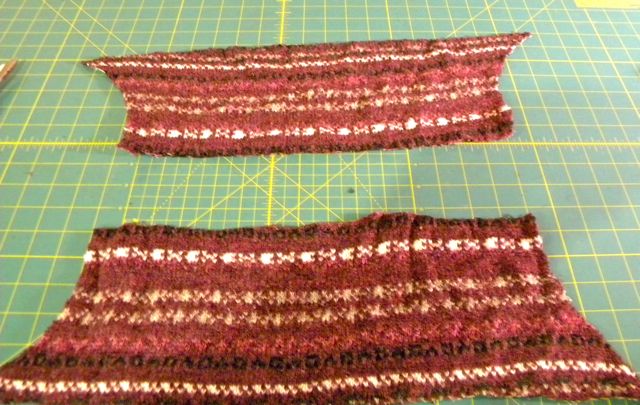
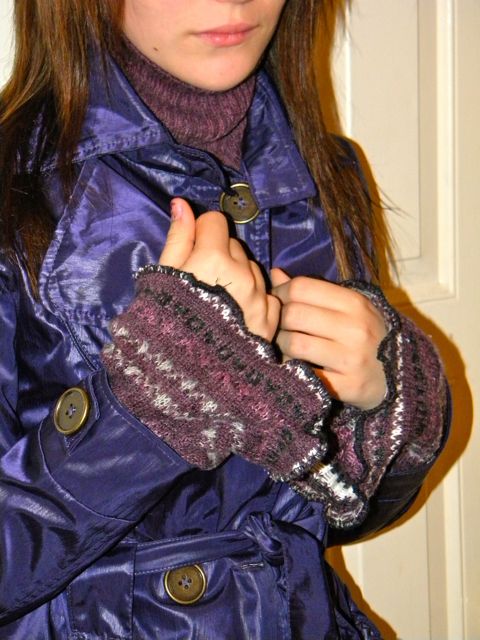
These were just the right shape for pretty flouncy cuffs. I live in northern New England, so wrist warmers are a common item. All I did was cut the front and back chest pieces away from the shoulders. Then I cut a rough trapezoid shape and serged the two long edges closed. I also serged the bell opening so the live stitches were secure. Finally, I picked up some stitches on the smaller wrist opening and knit a few inches of ribbing.
An iPod Case?
Hmm, there’s only the shoulders left–just enough fabric for an ipod case.
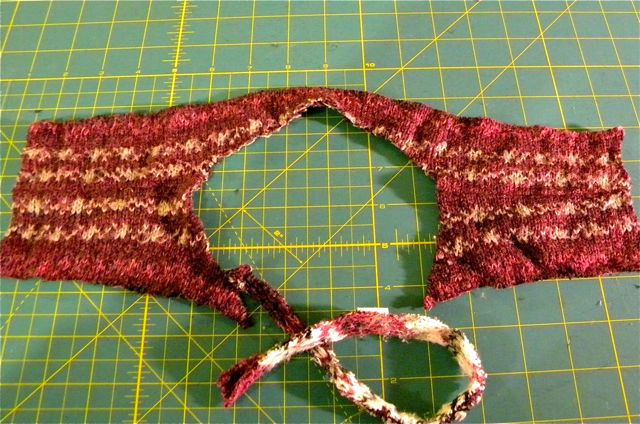
So there you have it, lots of brand new garments from one old sweater nobody wanted. I hope you’ll have fun experimenting with different ways to refashion your old fashions. Don’t be afraid to just cut and sew. The knitting isn’t going to explode into a pile of tangled yarn or anything. Just treat it like any other piece of fabric and you’ll be fine.
Julie Anne Eason is a freelance web writer and publisher. She spends her days dreaming up new sewing projects and writing reviews for items like the Brother CS6000i beginner sewing machine, sewing tables and cabinets, and the Pfaff 1245 walking foot industrial sewing machine.


I love to unravel and redo or just cut and sew. I could like you and Idefinitely like your articles.
Thank you, Hayley. We love to craft and recycle and would love to see your projects shared on our website or our Facebook and Google Plus communities 🙂